Sandblasting with a Pressure Washer: A Practical Guide
Learn safe, effective sandblasting with a pressure washer. Explore media options, safety gear, setup, and a step-by-step workflow to prep surfaces like masonry, metal, and concrete.

Sandblasting with a pressure washer can remove heavy coatings from masonry, metal, and concrete when done with proper media, containment, and PPE. It’s powerful but not suitable for delicate surfaces. Plan containment and disposal ahead of blasting, and follow a defined workflow for best results. Pressure Wash Lab emphasizes choosing the right media and testing on a small area first.
What sandblasting with a pressure washer is and isn’t
Sandblasting with a pressure washer is a form of abrasive cleaning that uses a high-velocity stream to blast away coatings, rust, and paint from hard surfaces such as masonry, metal, and concrete. This technique blends the raw power of a pressure washer with an abrasive media to physically remove material rather than merely washing it away. It can dramatically improve prep work for repainting or restoration, but it also carries risks: dust, chips, and potential surface damage if performed incorrectly. According to Pressure Wash Lab, the best results come from selecting the right media, using containment, and following a defined workflow. Always verify your surface suitability and local regulations before blasting.
Media options and nozzle considerations
Choosing the right blasting media is crucial for success and surface safety. Common options include glass bead, baking soda, and plastic media; each has a different aggressiveness and finish. Avoid silica-based sands on home equipment to minimize respirable dust, especially indoors. For most DIY projects on masonry or metal, a non-silica abrasive media paired with a compatible blasting nozzle yields better control and less surface gouging. When selecting a nozzle, a narrower angle (e.g., 15–25 degrees) concentrates the blast for precision while reducing collateral damage. Always test on a hidden patch to dial in media choice and distance.
Surface suitability and limitations
Not every surface is a good candidate for sandblasting with a pressure washer. Masonry like brick or concrete often responds well when the coating is thick or flaking; stucco can tolerate blasts but risk crumbling if overexposed. On wood, blasting can gouge fibers or raise grain, so it’s often unsuitable without a protective mask or alternative methods. Metals vary by alloy and coating; some finishes are not compatible with abrasive removal. In all cases, perform a small-area test and document the results before continuing a full blast.
Safety, PPE, and environmental considerations
Abrasive blasting creates dust, chips, and vibration that can affect nearby people and surfaces. Wear protective eyewear or a face shield, an appropriate respirator or dust mask, hearing protection, gloves, and long sleeves. Ensure adequate ventilation for indoor projects and use dust containment measures to prevent drift. Collect and dispose of used media according to local regulations. Water-based blasting reduces airborne dust but requires proper drainage planning to avoid runoff into soil or storm drains.
Setup, containment, and workflow coordination
Plan the workspace to minimize dust migration: lay down tarps or plastic containment around the work area, and use a containment tub for spent media. Position a water source and drainage to manage slurry, and consider a surface cleaner attachment for larger, flat surfaces to keep the blast pattern even. Establish a workflow that starts with a dry run on a test patch, then proceed with measured, overlapping passes. Document observations for future projects.
Common mistakes and how to avoid them
Common mistakes include blasting too close, using excessive pressure, or choosing aggressive media for delicate surfaces. Avoid blasting over previously damaged edges, which can widen cracks. Do not neglect PPE or containment, as dust and debris can travel beyond the work zone. Always test a small area and monitor the surface response for changes in texture or color.
Maintenance, cleanup, and disposal
After blasting, rinse the area if feasible to wash away residue and to reveal a clean surface. Collect spent media and dispose according to local guidelines; some jurisdictions treat certain blasting media as non-hazardous, while others require special handling. Clean and store nozzles, hoses, and containment materials after use, and inspect equipment for wear or damage before the next project. Regular maintenance ensures consistent results and prolongs tool life.
Tools & Materials
- Pressure washer(Ensure it supports abrasive blasting and has an appropriate blasting nozzle or wand.)
- Abrasive blasting media (glass bead, baking soda, or plastic media)(Avoid silica-based media to minimize dust; choose media based on surface and desired finish.)
- Blasting nozzle or attachment(Select a nozzle compatible with your media and intended spray angle.)
- Media containment system (tarps/plastic sheeting, containment tub)(Use to capture media and prevent dust migration.)
- Personal protective equipment (PPE)(Goggles or face shield, respirator suitable for dust, hearing protection, gloves, and long sleeves.)
- Water supply hose and drainage plan(Provide continuous water and plan for slurry to drain safely.)
- Drop cloths or surface protection(Protect nearby plants, flooring, and fixtures.)
- Broom and heavy-duty vacuum with HEPA filter(For cleanup and dust control after blasting.)
- First-aid kit and fire extinguisher(Always handy for workshop safety.)
- Test patch area (sand or paint chip sample)(Use to calibrate media choice and pressure on a small area.)
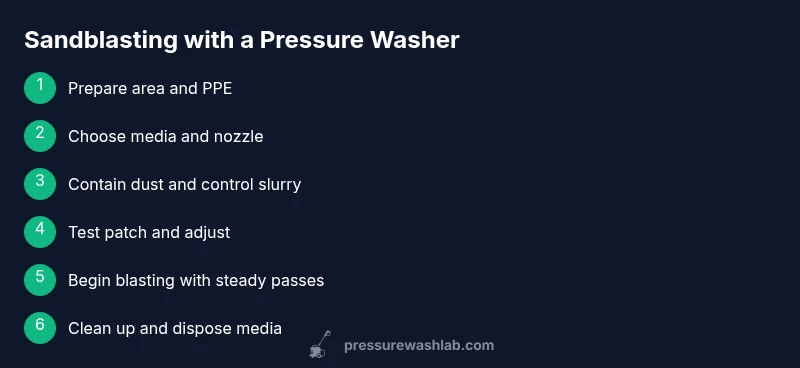
Steps
Estimated time: 2-3 hours
- 1
Assess workspace and PPE
Survey the project area, confirm ventilation, and lay out containment. Gather PPE: safety goggles, respirator, hearing protection, gloves, and long sleeves. Verify local regulations on blasting dust and disposal before starting.
Tip: Do a quick test fit of PPE in your work area. - 2
Choose media and nozzle
Select media appropriate for the surface. Pair it with a compatible blasting nozzle to control the spray angle and keep the stream focused on the target area.
Tip: Always perform a patch test on a concealed area first. - 3
Set up containment and water
Install tarps and containment—plus a water source with proper drainage. Ensure sleeves and edges are protected and clear non-target surfaces of dust and debris.
Tip: Prevent cross-contamination by sealing off the work zone. - 4
Test blast on a small area
Blast a hidden patch to evaluate finish and surface integrity. Record results and adjust media choice, distance, or nozzle angle as needed.
Tip: If texture changes or chipping occurs, stop and reassess. - 5
Begin blasting with controlled passes
Start at a safe distance and use overlapping strokes. Maintain steady speed and avoid lingering in one spot to prevent gouging.
Tip: Keep a consistent rhythm and watch edge areas closely. - 6
Inspect and clean up
Inspect the blasted surface for uniformity, then rinse or wipe to remove slurry. Collect spent media and dispose according to local rules.
Tip: Document the area for future maintenance and touch-ups. - 7
Store tools and debrief
Wash and store equipment, remove containment, and review the project for lessons learned to improve future blasting tasks.
Tip: Note any surface reactions for your next project.
Quick Answers
Is sandblasting with a pressure washer safe for wood surfaces?
Wood surfaces can gouge or raise grain when blasted. For wood, use gentler media or alternative prep methods and test on a hidden area before proceeding.
Wood can be damaged by abrasive blasting; test first and consider softer methods for delicate wood.
What safety gear should I wear when blasting with a pressure washer?
Wear safety goggles or a face shield, a suitable respirator, hearing protection, gloves, and long sleeves. Ensure good ventilation and use containment to reduce dust exposure.
Eye protection, respirator, and hearing protection are essential, plus gloves and long sleeves.
What media options work best for this method?
Glass bead, baking soda, and plastic media are common. Avoid silica-based media indoors. Choose media based on surface and desired finish.
Glass bead or baking soda work well for many surfaces; avoid silica dust indoors.
Can I use a standard home pressure washer for blasting?
Yes, with the right media and nozzle, a home pressure washer can be used for abrasive blasting, but ensure manufacturer guidelines are followed and the area is properly contained.
You can, but follow manufacturer guidance and set up dust containment.
How do I prevent damage to metal surfaces during blasting?
Protect edges, use conservative pressure and distance, and test on a hidden area first to avoid warping or etching.
Protect edges and test first to prevent damage to metal surfaces.
Are there regulatory concerns I should know about?
Regulations vary by location. Check local codes for dust control, disposal, and containment requirements to stay compliant.
Check local rules on dust and disposal to stay compliant.
Watch Video
Key Takeaways
- Plan containment and PPE before blasting
- Choose media based on surface and avoid silica dust
- Test a patch area to calibrate media, distance, and nozzle
- Maintain steady passes and monitor surface for damage
- Clean up thoroughly to prevent environmental impact